


 pictors of omnimon/omegamon
text review will come when i can muster the effort.
 Hello boys and girls! I finished constructing Omnimon and it took shorter than expected, approx. three hours only! While i take photos i decided i'll review the Cherudim Gundam from the Gundam 00 series. The model stands about 17 - 18cm tall with a range of different attachments. First off he comes with a huge sniper (which can fold in half to make more of a cannon) and two smaller white hand guns.
 In addition to this the model features a shield that's constructed from parts of the Gundams armour, if you've seen the anime the parts are called "bits", the shield is about the same height as the Gundam but requires you to remove armour from the model making it naked and less attractive so i opted not to use the shield.
 You probably can't tell but these eyes are holographic. :D
 Cherudim looks great and has high possibility, if your into chunkyish models which come with different attachments and extras, ASWELL as sweet holographic stickers i recommend this model. I bought this model off Minotaur in the city, they also had a different designers version which wasn't featured in the anime, this variation looked a lot more like a military tank with the added stripes so i gave it miss.
 A great model and i highly recommend you panel line it, panel lining brings out the details in the arms of this model. Actually you should pretty much panel line any part of any model that's on white plastic.
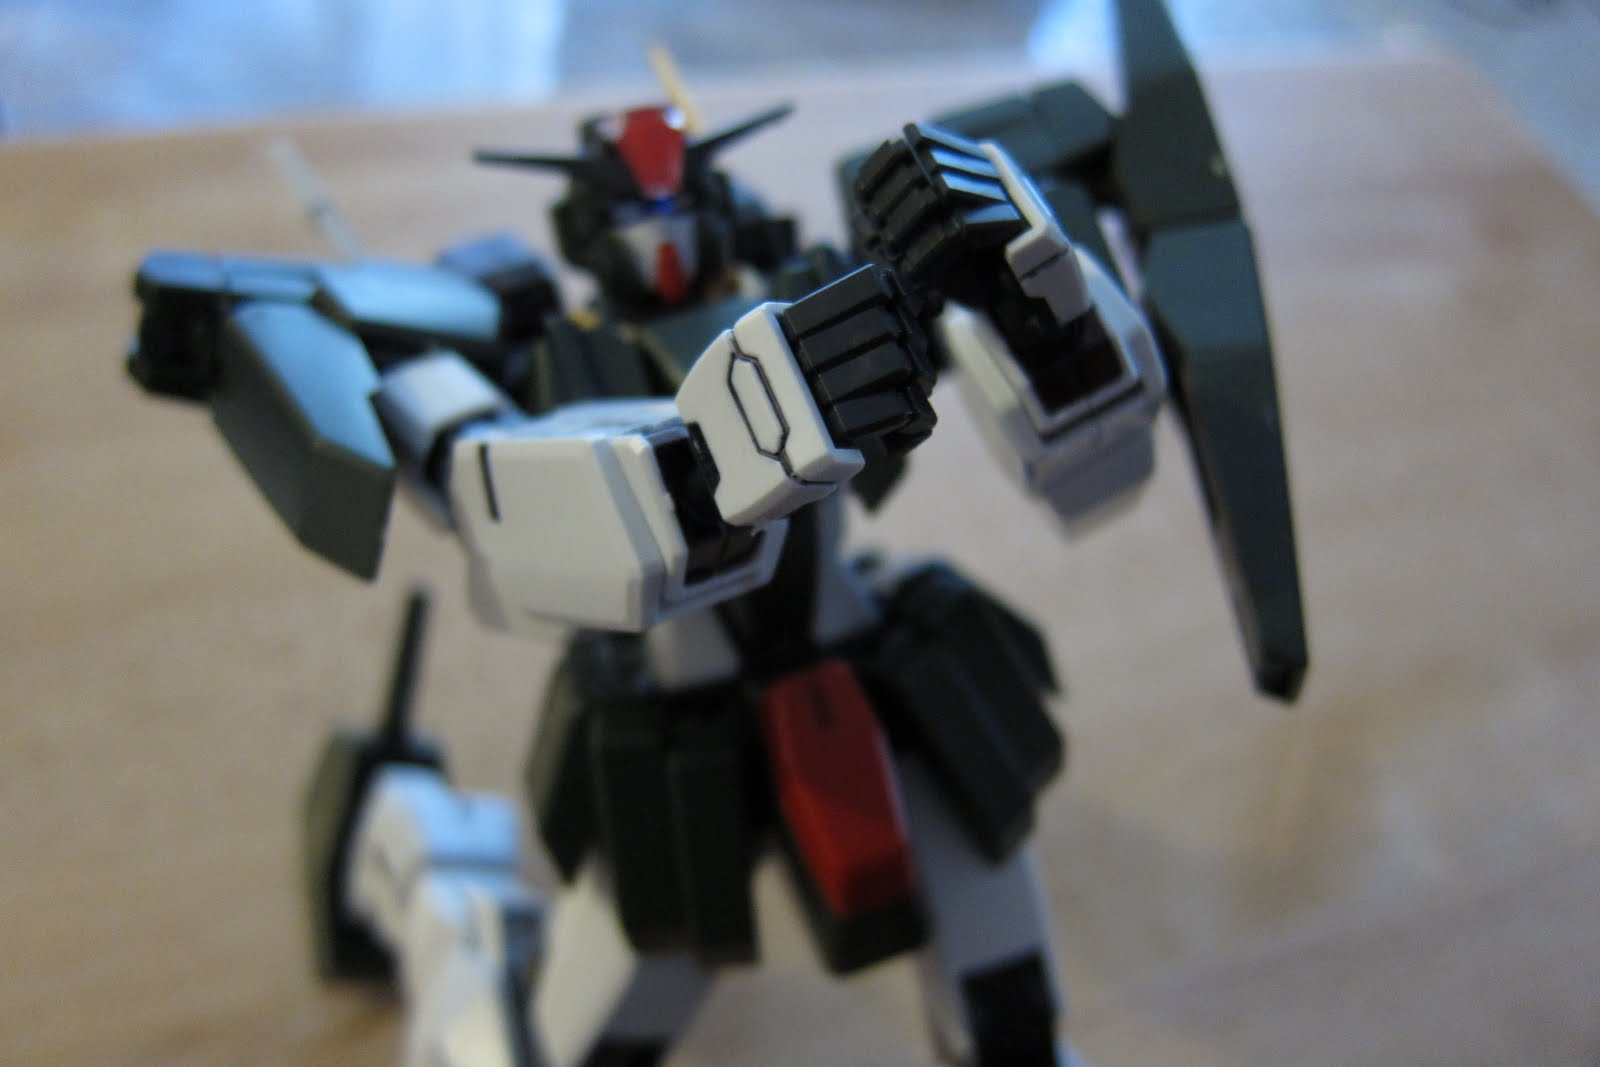
 TheModelPresidente! Get it! Pun?! I know everybody has been dying to see a blog entirely based on model building, so here it is! This blog will center itself on model previews, reviews and tips. However once in awhile i may post something unrelated to model building.
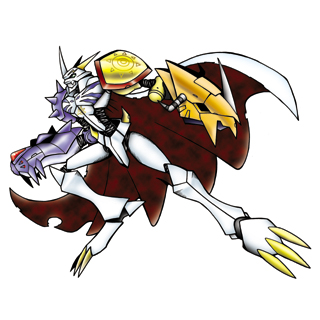 ching the Digimon movie! He's the deadly combination of Wargreymon and Metalgarurumon used to thwart the deadly virus digimon whose name i don't remember.
 The coloured frames match the box image fairly well although the golden parts look more orange than gold, the blue parts however look amazing.

 These are frames, the top image is straight out of the box while the bottom has been panel lined.